

Workshop on hair slides
Tuesday 5th March 2024
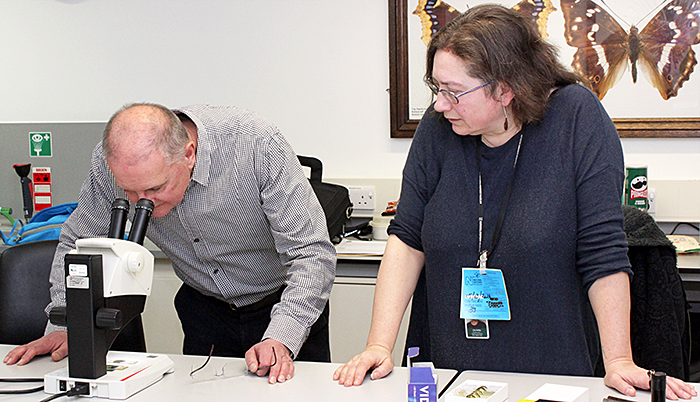
The workshop was held in the Angela Marmont Centre in the Natural History Museum. Chris Thomas and John Gregory opened the workshop by explaining the structure of hair, which has an outer scaly cuticle enclosing the cortex (where melanin pigments provide the colour) and can also have a central medulla.
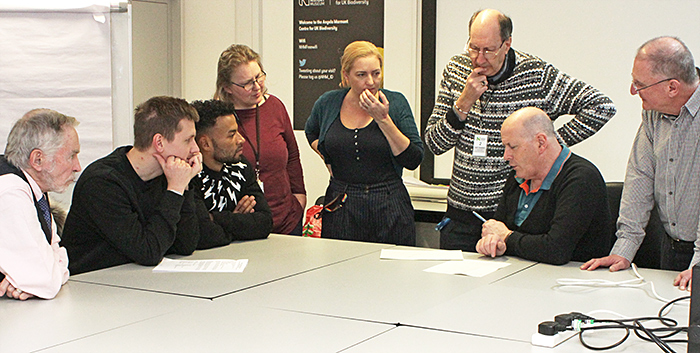 Participants in the workshop
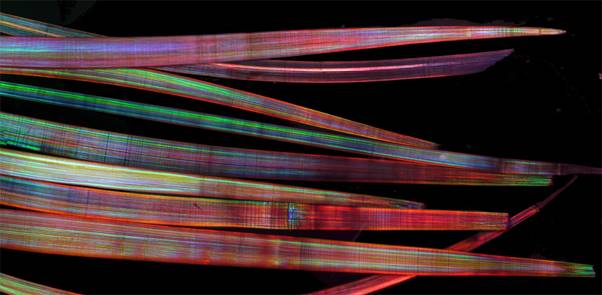
John and some of the participants provided hair samples from a wide range of domestic and wild mammals.
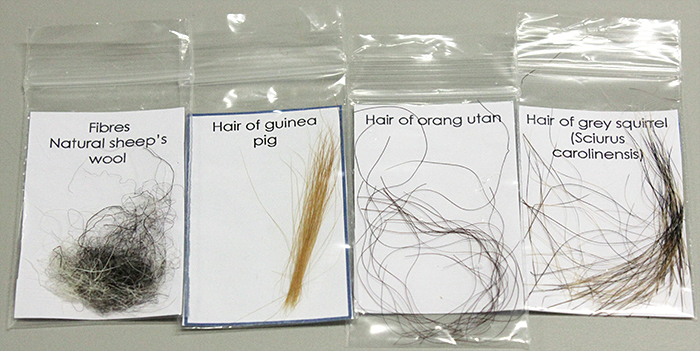 Hair samples
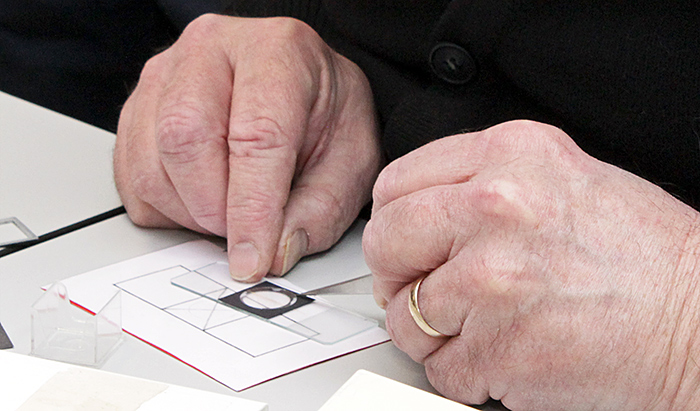
Dry mounts
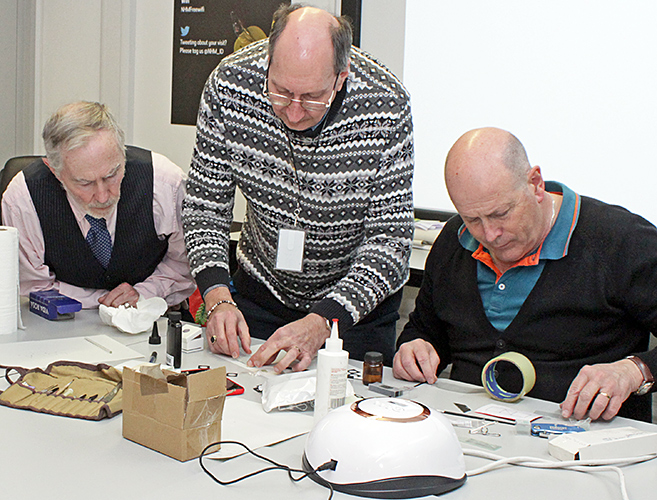
John Gregory’s first demonstration was making a dry mount, where there is no mountant, using a simple template to help centre the components. He first attached a square of black card from which he had punched out a circle. To stick the card to the slide, he used a poly(vinyl acetate) adhesive, Arcare Neutral pH Adhesive. He placed hairs in the centre of the circle, then stuck a square coverslip to the card. Finally, he stuck a square of black paper (not card) on top and pressed everything down firmly.
 Making a dry mount
LOCA mounts
John’s second demonstration was making a permanent slide using LOCA (Liquid Optically Clear Adhesive that sets under ultra-violet) as the mountant. For this method, the hair needs to have been washed in detergent or shampoo, rinsed clean, then either allowed to dry naturally or dried faster by adding alcohol and allowing it to evaporate. To add a drop of LOCA to the slide, John uses a glass rod, because a pipette can introduce air. He added a drop of LOCA in the centre of the slide, then used forceps to place one or a few hairs on the drop. Before adding a circular coverslip, he added a drop of LOCA to it; he finds that this helps to stop the hairs from moving when the coverslip is lowered.
 Making a LOCA slide
To set the LOCA, John used a UV nail polish dryer for 60 seconds; the time needed depends on the intensity of the UV.
It is possible to use a UV torch instead of a dryer. In either case, do not look at the UV source because it can damage your eyes. Because LOCA hardens when exposed to UV, it must be stored in dark bottles, and kept clear of sunlight and tungsten-halogen lamps.
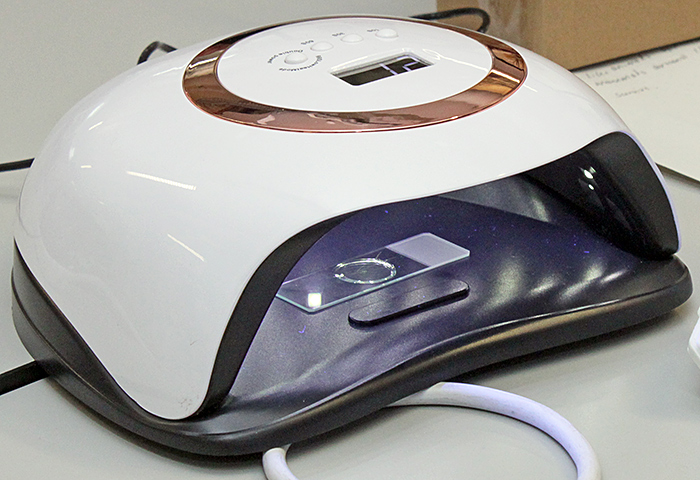 UV nail polish dryer
Once set, any excess LOCA can be removed by scrubbing in warm soapy water using a toothbrush. Any bits of hair sticking out from under the coverslip can be trimmed off with a sharp blade. The slides can then be ringed (using a turntable and ringing cement) and labelled.
LOCA impressions
It can be difficult to see the patterns of scales in the cuticle of hairs under a microscope, and the patterns can be made more visible by making an impression. Until recently, this has been done using solvent-based nail polish that is left to dry and harden for an hour or so before peeling off the hair. John’s third demonstration used LOCA instead of nail polish. He made a thin layer of LOCA in the centre of a slide, using the shiny side of wide Sellotape (to which LOCA does not adhere). He then used forceps to press a hair into the LOCA, and set it using the UV nail polish dryer. After pulling off the hair with forceps, the impression was ready to be examined under a microscope.
 Terry Hope, Chris Thomas and John Gregory
For making impressions of hairs, Chris Thomas prefers Vida Rosa UV Resin. This is used in the same way as LOCA but dries hard with no oily film, so dust does not stick to it. Gordon Brown recommends Vida Rosa for impressions of hair and leaves.
Hands-on
The participants had been asked to bring their own slides, coverslips, brushes and forceps. John provided squares of black card and paper, PVA adhesive, LOCA and sharp blades.
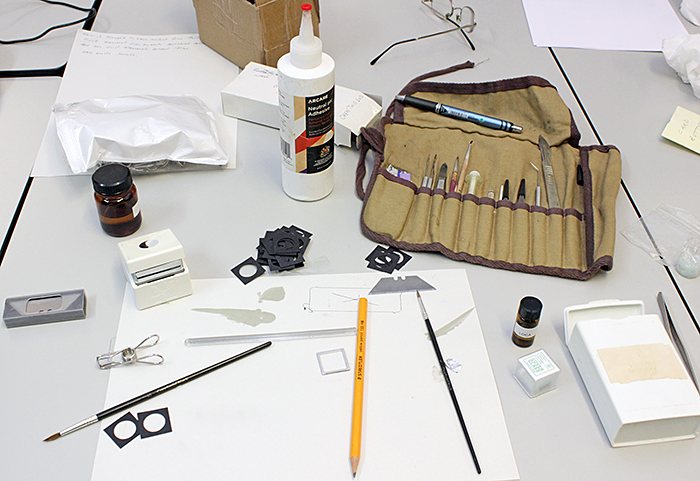 Equipment and supplies
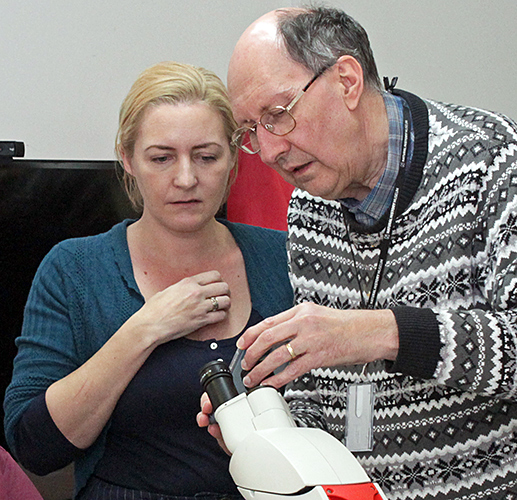
After the demonstrations, Club members, two members of NHM staff and two other visitors were able to try their hand at making slides that they could take away, and to examine the slides under a compound microscope.
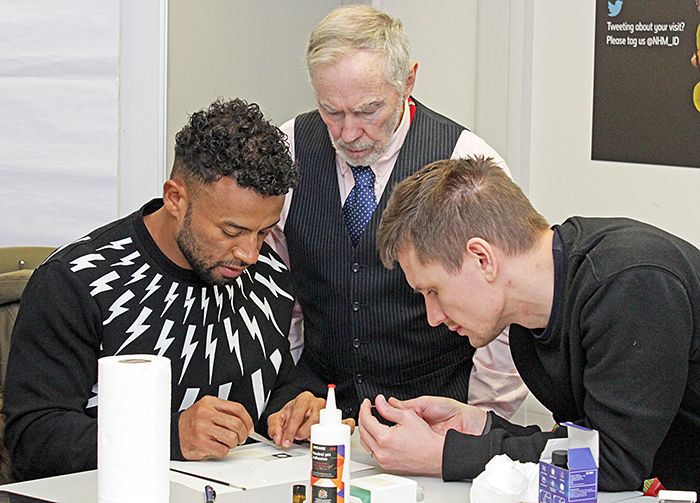 Wellington Kubijan, Terry Hope and Dmitrij Borscs
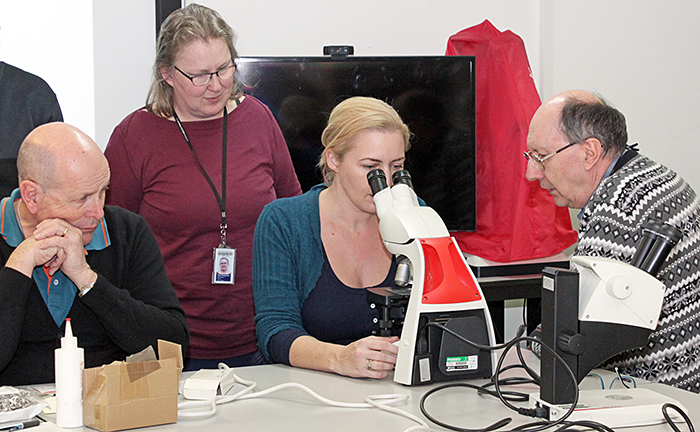 John Gregory, Wren Montgomery, Lu Allington-Jones and Chris Thomas
Lisa and Nigel Ashby brought some antique slides of hairs and setae from their collection, and we were able to view them under a stereomicroscope.
 Alex Cunningham and Lisa Ashby
 Setae of sea mouse
Chris Thomas demonstrated how easy it is to take photomicrographs by holding a smartphone over one of the microscope eyepieces.
 Lu Allington-Jones and Chris Thomas
 Platypus hair and imprint [By Chris Thomas with a smartphone]
Single photos such as these have very shallow depth of field. Photos with much greater depth of field can be produced by taking a series of images at different levels in the subject and combining them with image-stacking software. The software selects the sharpest parts of each image, and combines them in a composite photo with good depth of field. The Quekett has a list of free and commercial image-stacking software.
The following photomicrographs are of hair slides that were made at the workshop but photographed later:
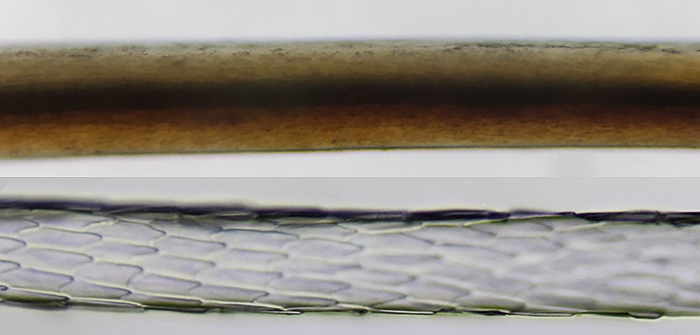
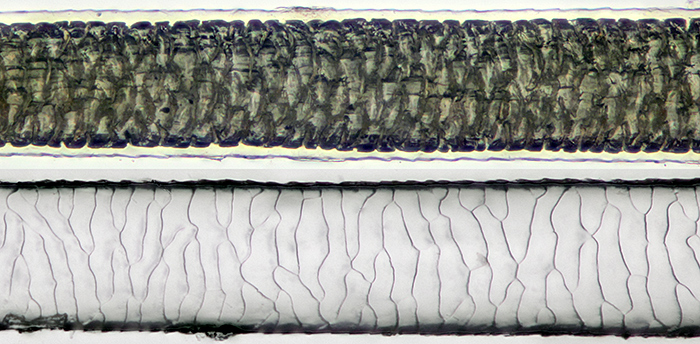 Guinea pig hair in LOCA (top) and impression of cuticle in LOCA
Hair is 0.07 mm diameter, stack of 15 images (0.002 mm steps) with 20× objective
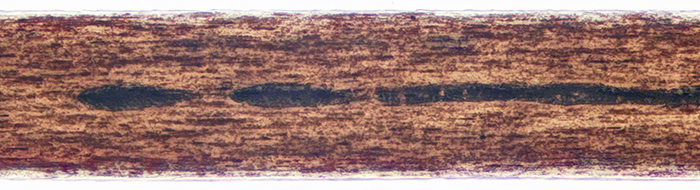 Human hair in LOCA
Hair is 0.08 mm diameter, stack of 12 images (0.002 mm steps) with 20× objective
Report and most photographs by Alan Wood