

Arkwright Scholars Workshop
Saturday 19th November 2022
This was the seventh face-to-face workshop for Arkwright Scholars on the uses of the optical microscope, held as before in the Angela Marmont Centre in the Natural History Museum in London. The Arkwright Engineering Scholarships support students through their A Levels or Scottish Highers and encourage them pursue engineering, computing or technical design at university or through a higher-level apprenticeship. The Scholarships are sponsored by industrial companies, universities, charitable trusts, trade associations, professional institutions, the Armed Services, Worshipful Companies, industry regulators or personal donors. Quekett members Pam Hamer and Chris Thomas led the workshop, assisted by Paul Smith, Danny Ferri and Alan Wood. Sarah Casey from the Smallpeice Trust came to observe.
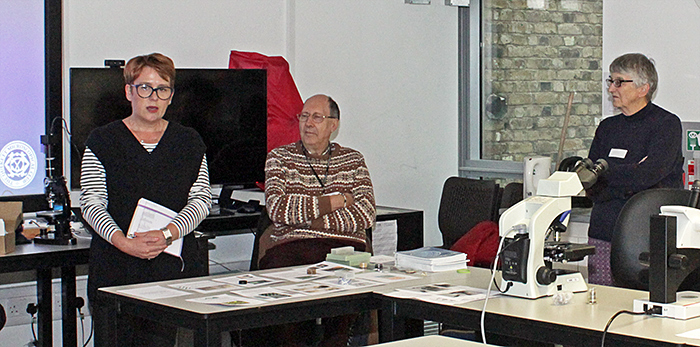 Sarah Casey opening the workshop (with Chris Thomas and Pam Hamer)
The Natural History Museum kindly allowed us to use the Angela Marmont Centre and their Olympus CX43 compound microscopes and Leitz EZ4 stereomicroscopes.
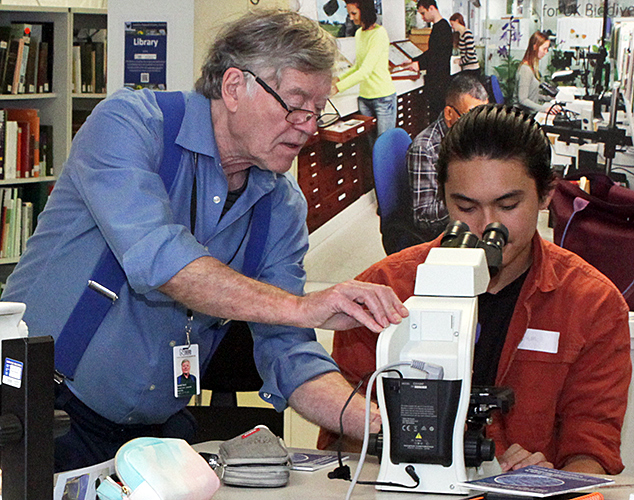
 Scholars and microscopes
Session 1
Chris Thomas ran the first session, an overview of optics and the development of microscopes.
Session 2
In the second session, the scholars were asked to work in pairs and make a microscope. They were provided with an eyepiece, an objective and an LED torch, plus sheets of paper and cardboard, a ruler, sticky tape and BlueTack
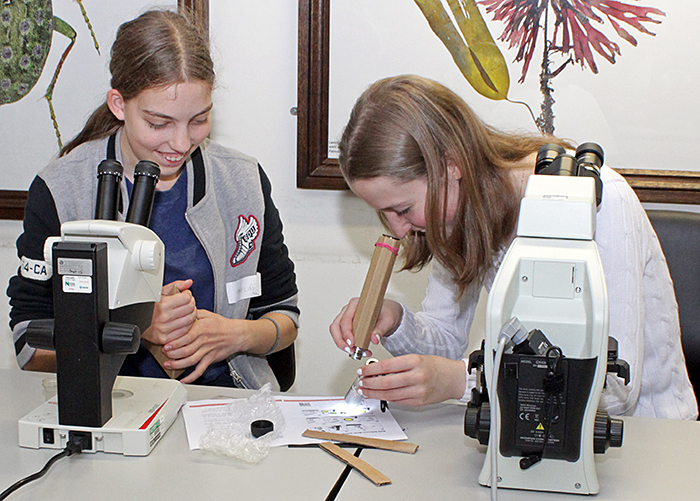 Scholars making a microscope
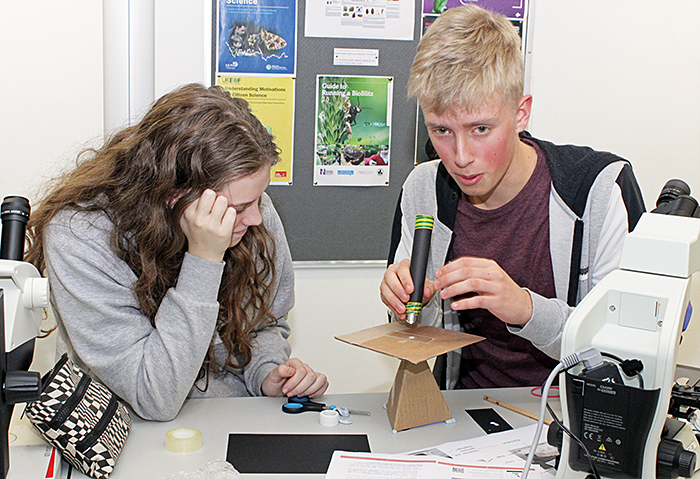 Scholars making a microscope
 Scholars making a microscope
Session 3
In the third session, Pam Hamer gave an introduction to using microscopes to assess and evaluate materials in engineered structures. She also described stereo and compound microscopes and how to use them.
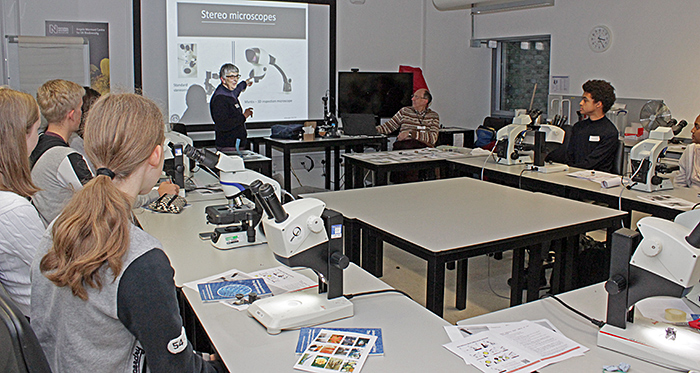 Pam Hamer’s presentation
Solvay had kindly provided some real materials for the Scholars to examine, including climbing drum peel test coupons (aluminium skin bonded to aluminium honeycomb with blue adhesive), carbon tooling laminate (layers of glass fibre fabric, carbon fibre fabric and resin) and samples of paint from the bonnet of a BMW car.
One skin of the climbing drum peel test coupons had been forcibly peeled off so that the blue glue could be examined to see whether there were any air bubbles, and to see the quality of the fillet (the shape of the adhesive where the skin and the honeycomb meet). The long working distance of the stereomicroscopes made them ideal for examining the coupons to see how well the glue had spread and whether there were any gaps in the glue.
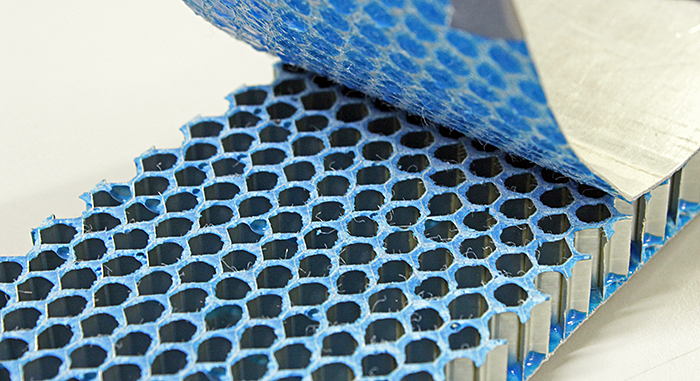 Climbing drum peel test coupon
One of the Solvay materials was a carbon tooling laminate containing carbon-fibre and glass-fibre mats; sections had been made from this, and samples of fibres were provided. The laminate was of a type used on high-performance boats and cars.
 Carbon tooling laminate material
Sections of the laminate (approximately 22×6 mm) that had been mounted in resin and then polished were provided for examination under the Leitz stereomicroscopes.
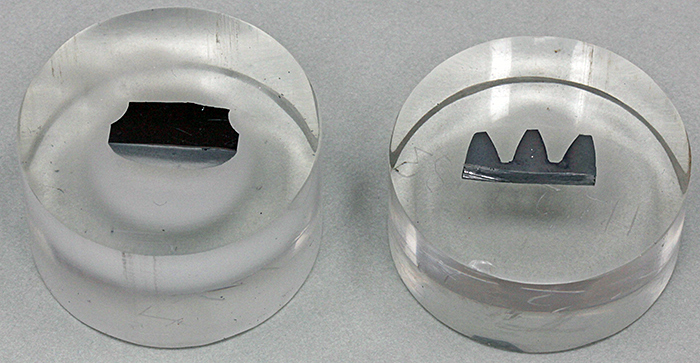
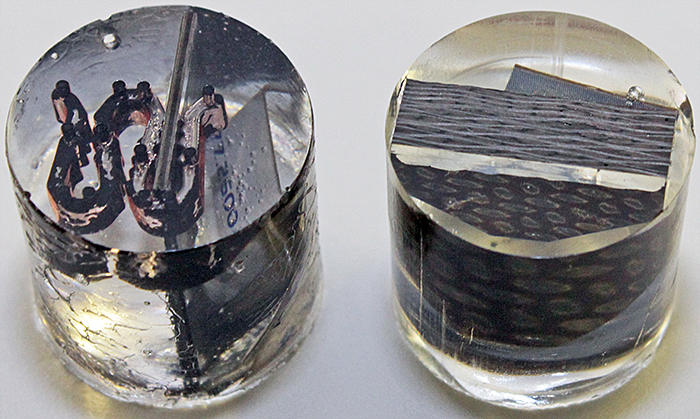 Paint section (left) and laminate section mounted in resin cylinders
Session 4
For the fourth session, the scholars examined laminate sections under their stereomicroscopes, and were able to see visible defects in the laminate, including dry fibre (where the resin had not impregnated) and voids. With the aid of a piece of graph paper with 1 mm squares, they were asked to calculate the area of the field of view through a stereomicroscope and the area of the voids within the field of view, and then calculate the percentage of voids.
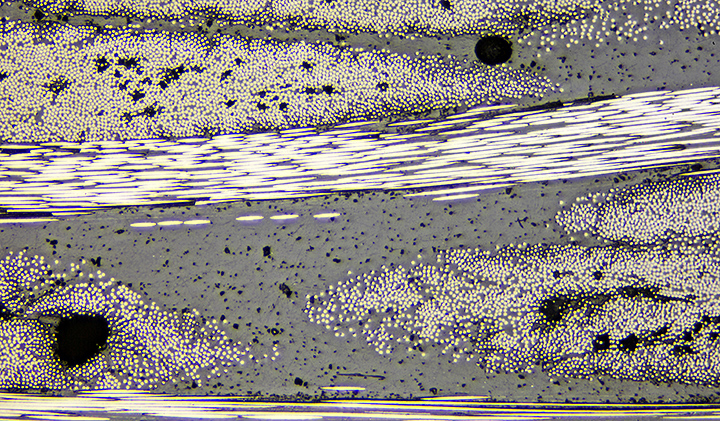 Laminate with voids (metallurgical microscope, vertical reflected light)
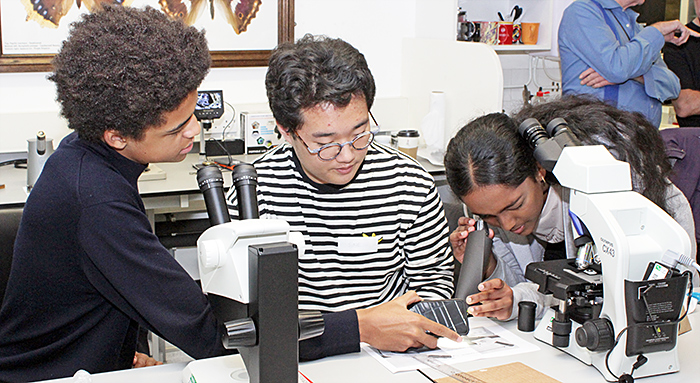
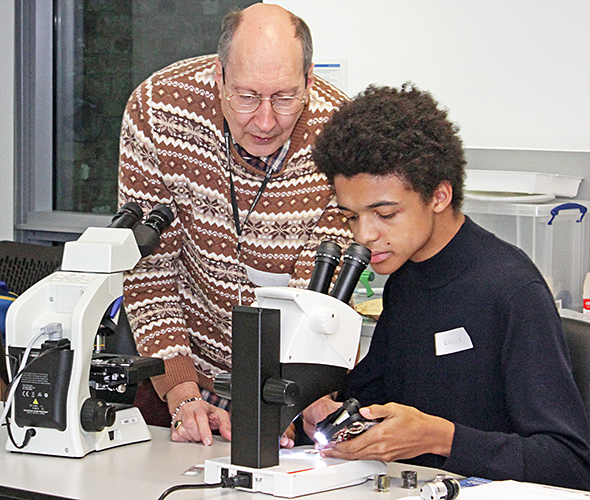
None of the scholars had much experience with microscopes, but with 5 Quekett members to help they quickly learned how to adjust the microscopes to suit their eyes and to get the best view of specimens.
 Chris Thomas
 Danny Ferri
The scholars soon realised that they could take photographs of the specimens by holding a smartphone just above one of the eyepieces.
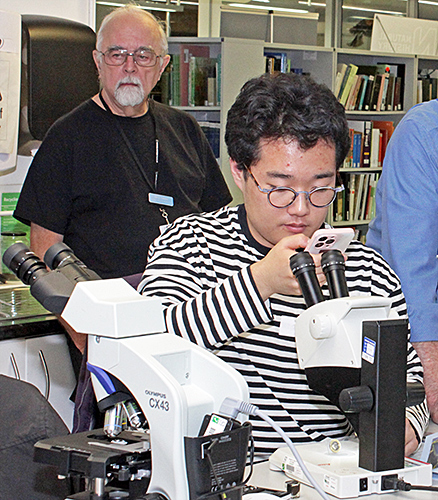 Photomicrography with a smartphone
However, it is not easy to hold the smartphone in exactly the right place. There are lots of smartphone adapters on Amazon and eBay, but you need to be careful to choose a good one.
Session 5
Pan Hamer provided a wide range of specimens, including a printed circuit, car paint samples, cosmetics, coins, currency notes, polymer and compostable tea bags, synthetic and natural fibres, an ammonite fossils and engineering samples.
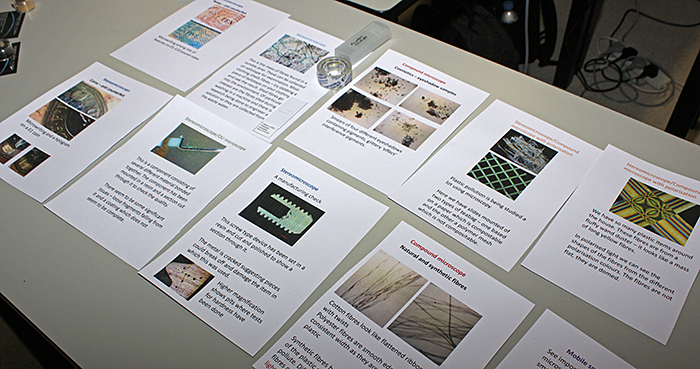 Some of Pam’s specimens
Other specimens included a working pocket watch with a see-through panel, star sand from Okinawa, metallurgical samples, coins and printed circuits.
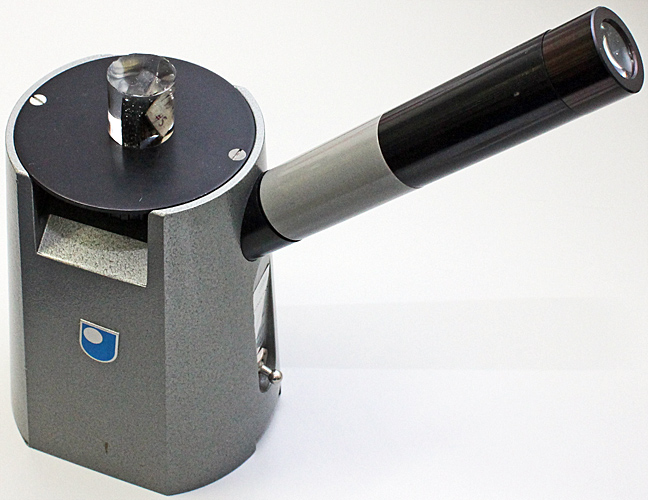
In addition to the main stereo and compound microscopes, the scholars were able to use a stereomicroscope with shadowless illumination, an inverted metallurgical microscope, the Open University version of the McArthur portable microscope, a larger Swift FM-31 portable microscope, a Natural History Museum Portable Microscope, and a simple digital microscope that includes a stand and a screen.
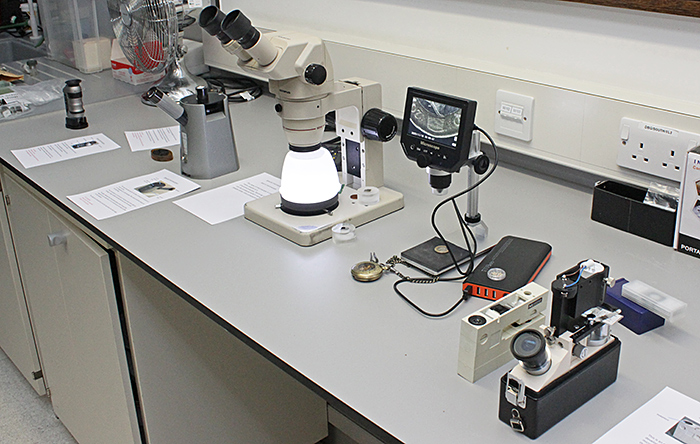 Assorted microscopes
 Inverted Gillett & Sibert Monolynx reflected-light microscope, with laminate section viewed from underneath
Pam Hamer showed the Scholars where to look for micro writing on bi-metallic £1 coins and on the new plastic £10 bank notes.
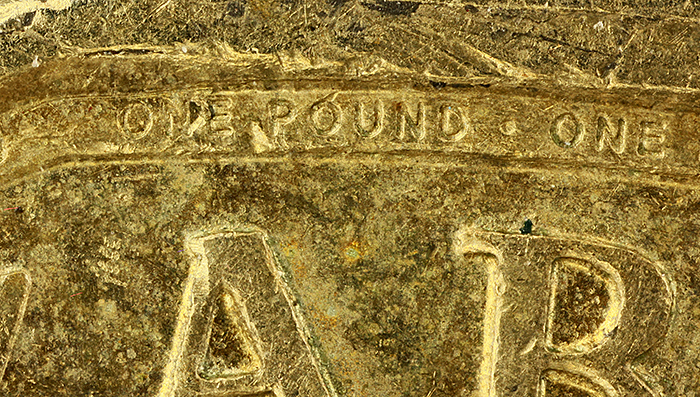 Micro writing on £1 coin (letters are 0.25 mm tall)
![]() Location of micro writing on £1 coin
Location of micro writing on £1 coin
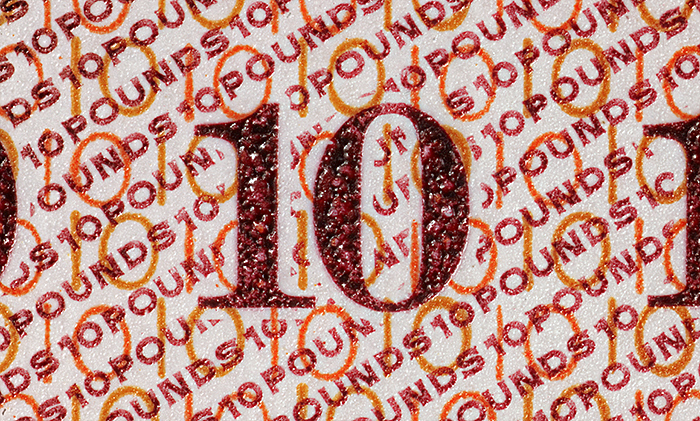 Micro writing on £10 note (letters are 0.25 mm tall)
Alan Wood used his Olympus SZ4045 stereomicroscope to demonstrate shadowless illumination. With a used 1-euro coin, there were marked differences in the apparent colour and the visibility of details when compared with an LED ring-light.
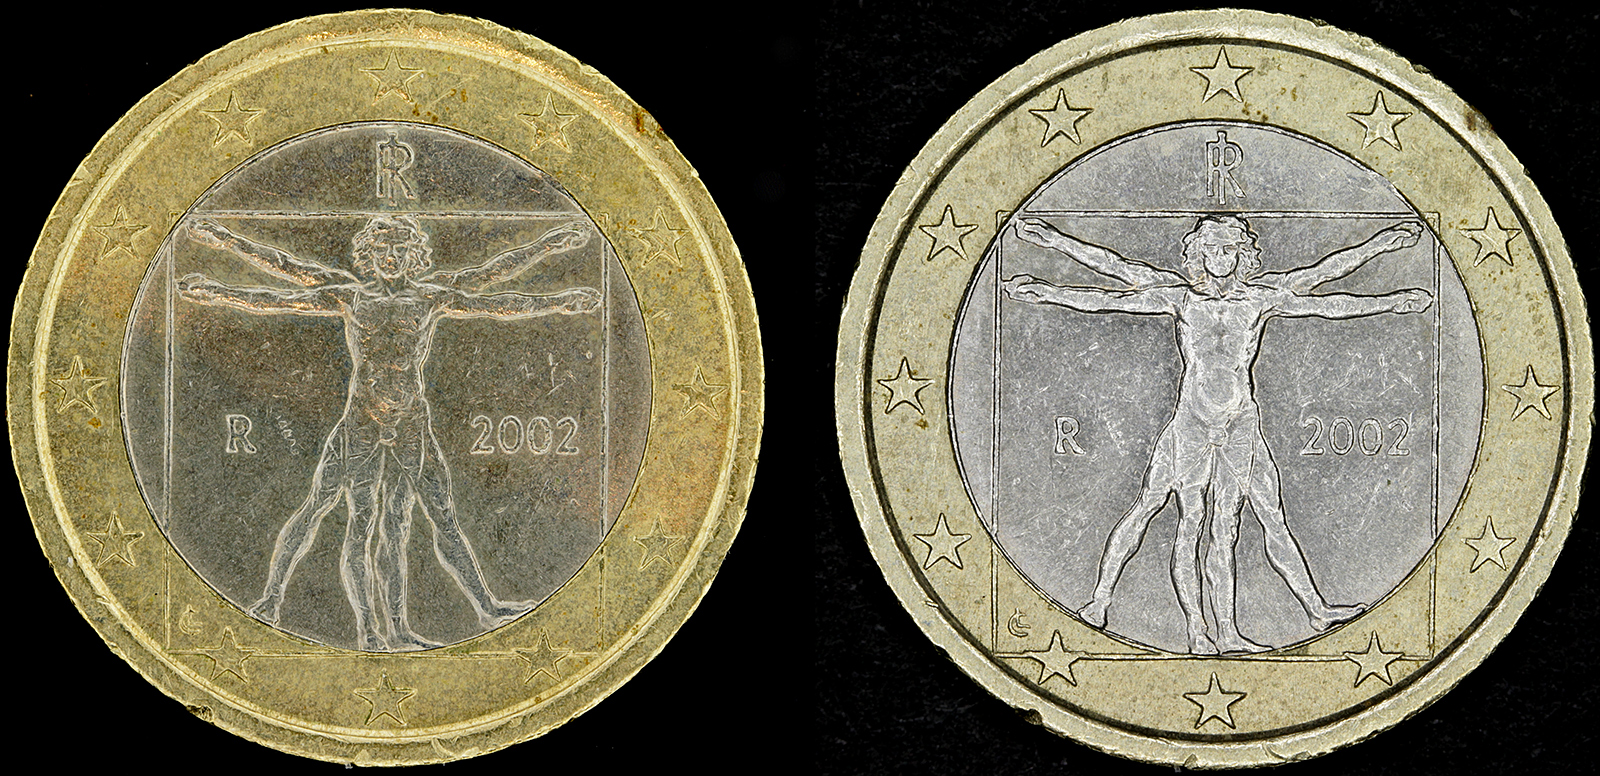 1 euro coin (left: shadowless, right: LED ring-light)
Click the image to see a larger version
With metallurgical samples, a highly-polished metal surface appeared black with shadowless illumination.
 Metallurgical samples
For checking soldered joints on a printed-circuit board, the shadowless illuminator almost eliminated reflections in the solder.
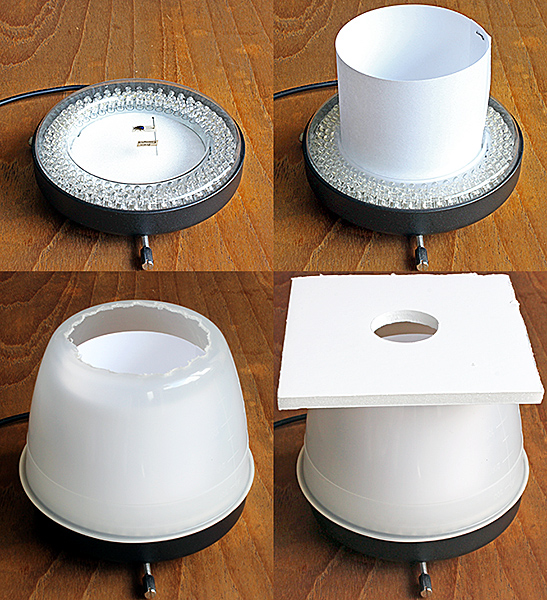 Shadowless illuminator, showing (top left) the inverted ring-light, (top right) ring of white paper, (bottom left) inverted bowl with base removed, and (bottom right) the complete illuminator.
Two books by Quekett members were given to each Scholar: Understanding and Using the Stereomicroscope by Lewis Woolnough and Understanding and Using the Light Microscope by Chris Thomas and Lewis Woolnough.
Report and photographs by Alan Wood