

Stereoscopic Society
Saturday 15th November 2014: Workshop “Stereo photography through the microscope”
Many Quekett members use stereomicroscopes and lots of us take photographs, but very few of us have any experience of taking stereo photographs. The Stereoscopic Society has lots of members who take stereo photographs but not many who use microscopes, so this joint workshop was arranged to allow members of the Quekett, the Stereoscopic Society and the 3D/Holography group of the RPS to share their expertise.
The meeting started with Quekett member Lewis Woolnough explaining the differences between simple microscopes, stereomicroscopes and compound microscopes, and the specimens and techniques that are suited to each sort of microscope. Simple microscopes have an upper magnification limit of around 20× and are not normally used for photography. Stereomicroscopes have a magnification range of about 5× to 50× and a working distance of about 10 cm, normally use incident light, and specimens do not need to be prepared. They provide a 3-D image through their binocular eyepieces and may have a third vertical tube for attaching a camera. Compound microscopes provide magnifications from 40× to 1000× with a working distance from a few millimetres to a fraction of a millimetre, normally use transmitted light, and need specimens to be prepared so that they are thin, flat and transparent and mounted on 25 x 75 mm glass slides. They can have a monocular head, a binocular head that does not provide a 3-D image, or a trinocular head with a third vertical tube for a camera.
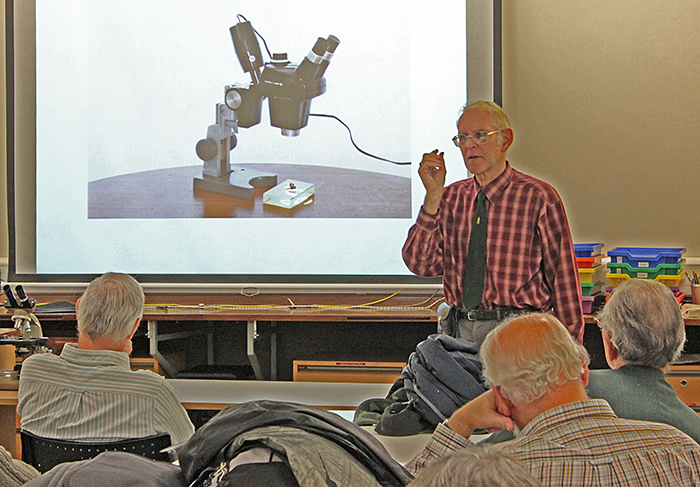 Lewis Woolnough with a photo of a binocular stereomicroscope
Quekett member David Linstead explained the various ways of attaching a camera to a microscope, from holding a mobile phone over an eyepiece to attaching a digital SLR to a trinocular head. David explained that most digital cameras can be used, except those with a non-removeable zoom with a long range. Cameras with a non-interchangeable lens can be used by arranging them with the front of the lens close to a microscope viewing eyepiece, with the camera held in place by clamps or mounted on a copying stand. Most photographers now use digital SLRs or compact system cameras without a lens, attached to the vertical phototube on a trinocular head. In this arrangement, a special photo eyepiece that matches the objectives is used to project an image onto the sensor in the camera. Tethering software allows the image to be viewed and focused on a computer screen and the camera to be completely controlled from the computer. When looking through a microscope, the depth of field is very small and so it is normal to use the focusing knobs to focus on different layers of the subject. For photography, the equivalent is taking a series of photographs at different depths into the subject and then combining them into a single photograph with good depth of field using stacking software such as Helicon Focus or Zerene Stacker. Specimens larger than the microscope’s field of view can be examined by moving them with the mechanical stage, and for photography the equivalent is taking a series of photographs of different parts of the subject and then combining them with stitching software such as Microsoft ICE.
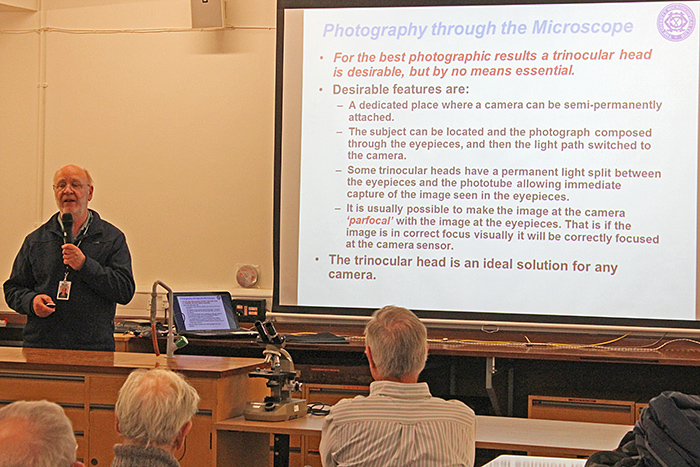 David Linstead
Alan Cooper LRPS is a Quekett member and also President of the Stereoscopic Society, and showed us his Canon MP-E 65mm f/2.8 macro lens that gives magnifications from 1× to 5× with his EOS 350D digital SLR, a combination that he normally uses mounted firmly on the stand of an old enlarger. He told us that he gets best results by toeing in the 2 images, even though in theory this produces PePax (perspective plus parallax) distortion. Alan recommended StereoPhoto Maker for cropping and aligning stereo pairs on a computer. Stereoscopic photographs work best when there is a lot of depth of field, and so with macro photos stacking software is required to combine the sharpest parts of series of photographs. The popular stacking programs Helicon Focus and Zerene Stacker can even extract stereoscopic images from a set of photos taken from a single position. For moving his camera in small steps for stacking, Alan uses the Manfrotto 454 Micro-positioning Sliding Plate, and to learn more about stacking he recommends Extreme Close-Up Photography and Focus Stacking by Quekett member Julian Cremona.
Alan told us about another system for producing stereoscopic images that was developed by Symons and uses mirrors at 168° to produce side-by-side images; Dr Bob Pryce has modified this with hinged mirrors that allow the angle to be varied. Alan concluded with a photograph of a golfer taken with a strobe that froze the club in several positions. This had inspired him to buy a Maplin LED Mini Strobe that can flash from 0.5 to 20 times per second and that he planned to use to take photomicrographs of beating cilia.
 Alan Cooper
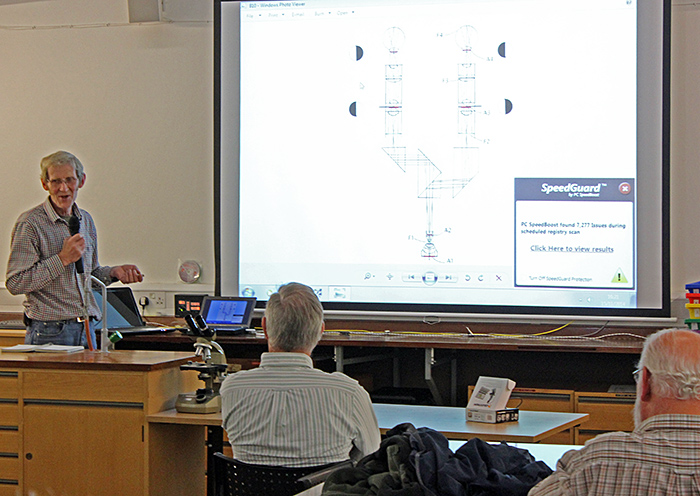
John Ward is a member of the Stereoscopic Society and started by showing us photographs of his brass Wenham binocular and a wooden box with lots of eyepieces and objectives for it; this was the microscope that got him interested in stereo microscopy and he still uses it even though he now has a Zeiss Ultraphot. John showed us a series of diagrams of the image paths in a variety of stereo microscopes, and explained how they differ in stereo depth and perspective distortion.
John had realised that he could obtain stereo pairs by taking photographs through one eyepiece with a pair of semicircular masks (◐ and ◑) and was able to show his photos and some by Bob Pryce to several people at once using his Toshiba Qosmio laptop fitted with an NVidia 3D Vision system. We had to wear NVidia active glasses that are linked wirelessly to the laptop and use shutters to ensure that our left and right eyes saw only the appropriate images, but the full-colour images that we saw were spectacular.
 John Ward
John has kindly provided some additional notes and photographs.
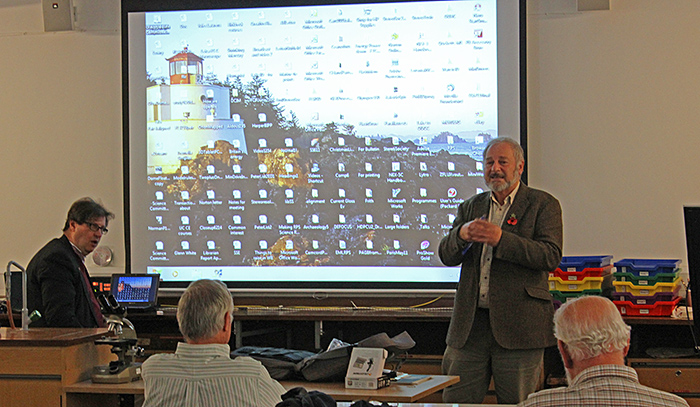
David Burder FRPS is a member of the Stereoscopic Society and the Managing Director of 3-D Images Ltd and started by handing out red and cyan 3D anaglyph glasses to everyone before showing us a series of greyscale stereoscopic images taken with a scanning electron microscope. The subjects included pollen, a springtail, a jumping spider, a chicken flea, a millepede, a dust mite, a mosquito, a louse, a weevil, a blowfly and a beetle. David gave great credit to Quekett member Dr Peter Evennett for getting him involved in scanning electron microscopy over 20 years ago. David also handed out another type of glasses that gave a stereoscopic effect to moving or coloured objects. David mentioned that he has successfully used the camera in his mobile phone simply by holding it over the eyepiece of a microscope, a technique that even children can use without purchasing additional kit.
David generously offered to give a pair of red/cyan 3D anaglyph glasses to any Quekett member who would like to start experimenting with 3D.
 David Burder
Another member of the Stereoscopic Society, Colin Metherell, showed us his Toshiba Qosmio F750 laptop that allowed one person to see full-colour stereoscopic images without needing special glasses. This system uses the laptop’s camera to detect the viewer’s left and right eyes and adjust the display so that each eye sees the appropriate images.
Quekett member Dennis Fullwood showed adapters for using his Nikon D90 digital SLR on his trinocular Olympus SZ4045 stereomicroscope and his trinocular Nikon Labophot compound microscope.
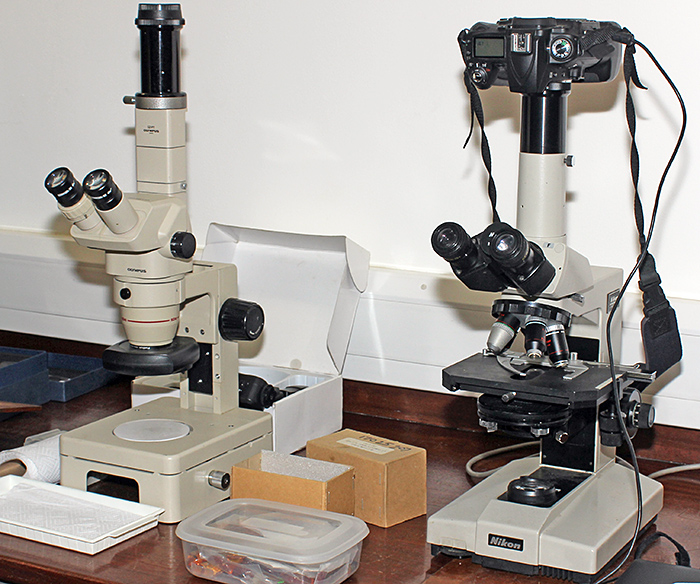 Microscopes with adapters for Nikon digital SLR cameras
Also on display was a Nikon Coolpix camera attached via its 28 mm filter thread to a Leitz Periplan microscope eyepiece, a classic combination that introduced many microscopists to digital photography and is still used today by Quekett members including Norman Chapman and Maurice Moss.
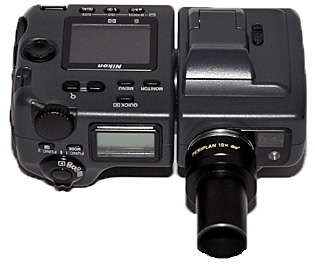 Nikon Coolpix camera with Leitz Periplan 10× microscope eyepiece
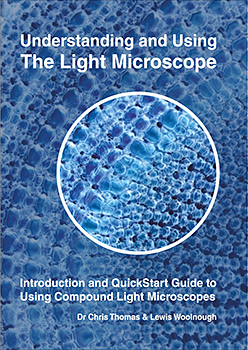 The new book by Quekett members Dr Chris Thomas and Lewis Woolnough “Understanding and using the light microscope: Introduction and QuickStart guide to using compound light microscopes” has now been published.
The book includes an introduction to the parts of the microscope, and explains what they do and how to use them to get the best results, and it includes lots of colour photographs of equipment and specimens.
Chris and Lewis brought several printed copies of the book for us to examine.
The book is not only available in print but also as PDF and Kindle e-books, and there are links and QR codes to access the accompanying collection of 9 videos.
For more information about the book and to see previews of the book and the videos, go to:
Quekett member Chris Thomas was busy during the workshop, taking stereo images of the meeting and of a penny coin.
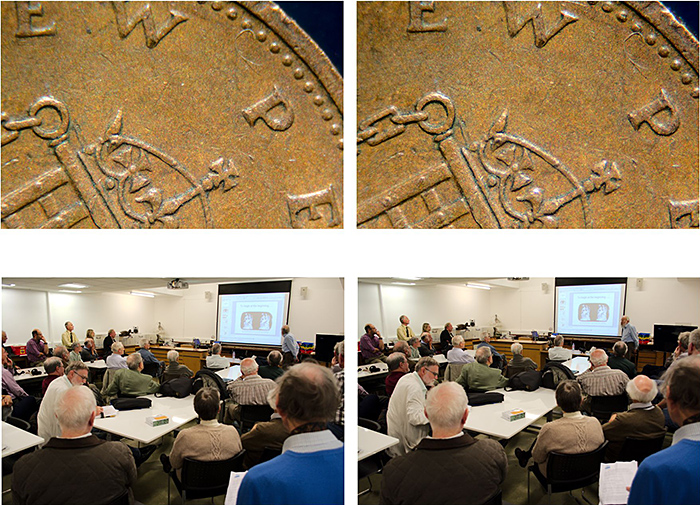 Stereo pairs for free viewing
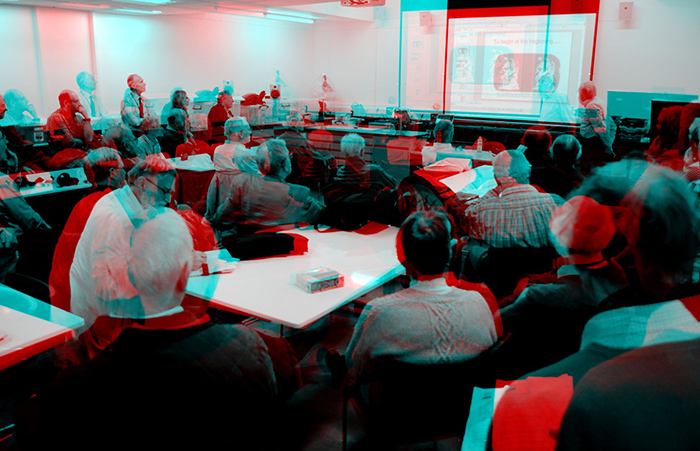 Use red/cyan 3-D anaglyph glasses to view this stereoscopic photo of the meeting
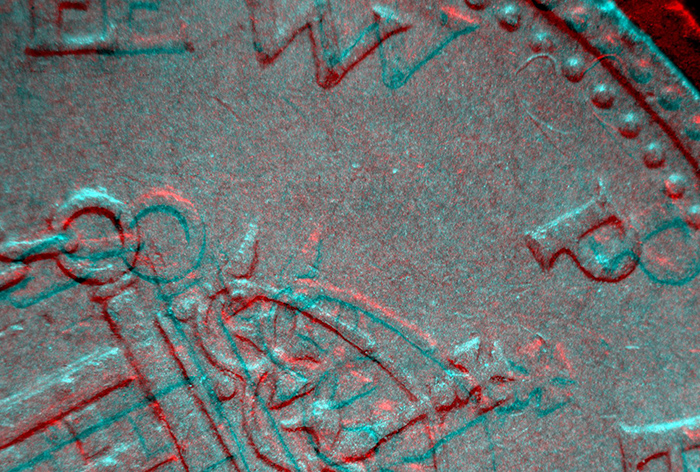 Use red/cyan 3-D anaglyph glasses to view this stereoscopic photo of a penny coin taken on a stereomicroscope
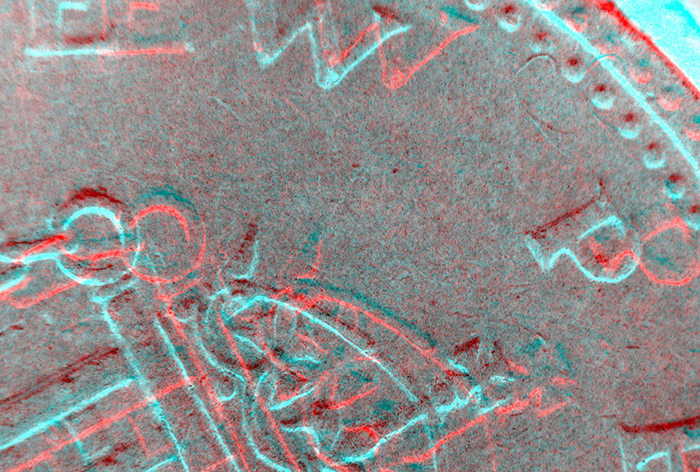 Use red/cyan 3-D anaglyph glasses to view this inverted stereoscopic photo of a penny coin taken on a stereomicroscope
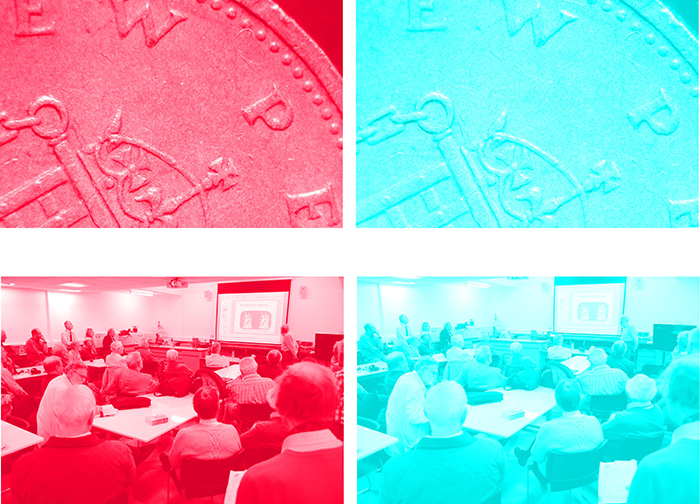 Separated red and cyan images
Quekett member Alan Wood took a different approach, remembering Alan Cooper’s advice that Zerene Stacker can extract stereoscopic information from a single stack of images, and produced this rocking animation of a pinned honeybee.
 Rocking animation of a honeybee (Apis mellifera L.), images generated by Zerene Stacker and combined into an animated GIF in Photoshop Elements
Alan also selected 2 of the images generated by Zerene Stacker and then used StereoPhoto Maker to produce versions for free viewing and for red/cyan anaglyph glasses.
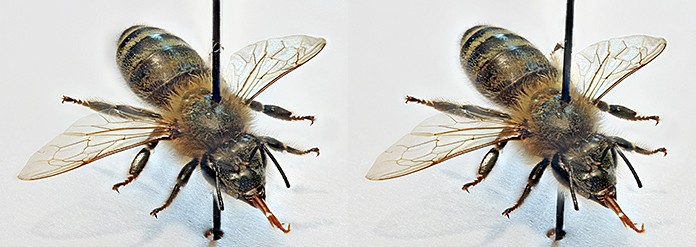 Stereoscopic pair of images of a honeybee for free viewing
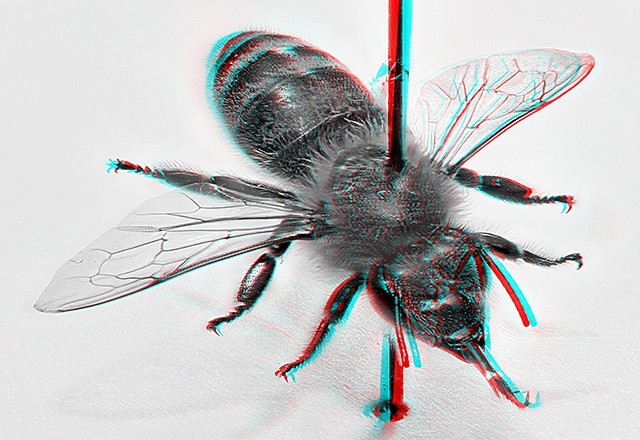
Stereoscopic image of a honeybee for viewing with red/cyan anaglyph glasses
Report and photographs by Alan Wood
Additional material from John Ward
All light leaving a microscope passes through a small area, the Ramsden disc, located about ½″ above the ocular (eyelens). This disc is an image of the objective aperture, and the discovery (not mine) that different (left and right) views of an object can be isolated by masking off lateral portions of it was the key to my stereo imaging protocol. All my work is frame sequential, but as I always use image stacking I am restricted to non-moving subjects anyway. My first practical device used a razor blade mounted above the eyelens occluding half the disc and rotated between exposures. This progressed to a sliding square aperture with end stops and I now use a device based on an XY stage allowing accurate and easy placement of a variety of masks, many of which are circular. To use such a device to its best effect I have a DSLR with a clear Fresnel focusing screen and a magnifier placed above the viewfinder lens, which gives me an image of the mask and Ramsden disc without disturbing the camera. The magnifier is an eyepiece with no field lens but with a micrometer scale so the mask aperture can be accurately positioned. You can start with very simple equipment and improve it as you gain experience (and enthusiasm). I would not pretend that it is always easy, but it is enormously satisfying to be able to capture such a key aspect of reality as the true form of objects.
The bulk of my work is in colour but much of this does not look so good in anaglyph form. I use a laptop which will display images frame sequentially (L, R, L, R… @ 120 Hz) to be viewed with LCD shutter spectacles. In terms of image quality this is way ahead of any other form of display but is unfortunately rather expensive. Display problems continue to hold back the popularity of stereo imaging though there is a significant impetus for development.
The following images are all B&W, chosen because they survive better the process of anaglyph display. They are red/cyan, probably the commonest form, with red on the left.
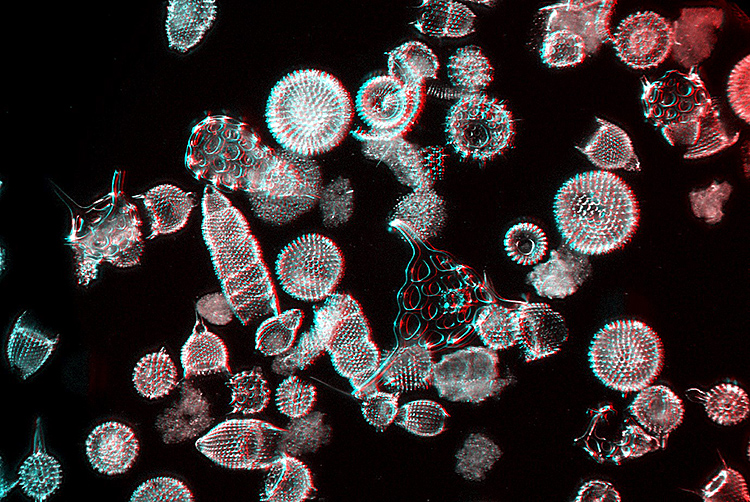 Polycystina taken with a Smith Beck & Beck 2/3″ objective (c. 1865) and Wenham dark-ground illumination [by John Ward]
 Diatom taken with a Nikon ×40 objective and LOMO dark-ground illumination [by John Ward]
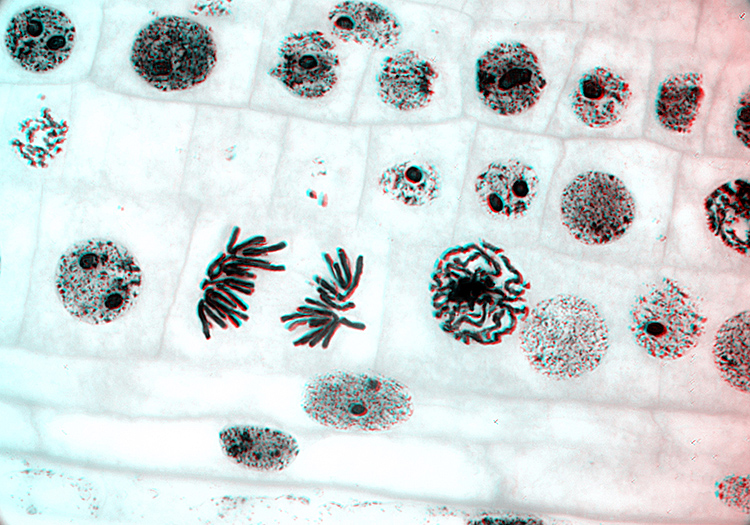 Onion root tip chromosomes taken with a Zeiss ×100/1.25 objective and DIC [by John Ward]