

Natural History Museum Pocket Microscope
Don’t be put off by the large, complicated and expensive microscopes illustrated on other pages on this website – you can see lots of interesting things using a cheap and simple microscope.
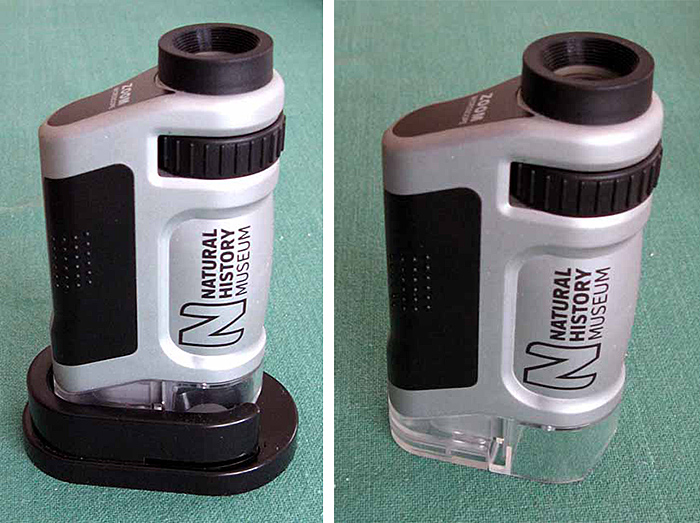
NHM Microscope with base (left) and without base (right)
These microscopes are now widely available from the Natural History Museum Shop, Amazon, other Web-based shops and even some supermarkets. Many members of the Club have bought one and the general view is that they are robust and work really well as a pocket field microscope. We have used them at exhibitions where we have a table of exhibits for kids to view. They survive this well; even if dropped they carry on working!
How it works
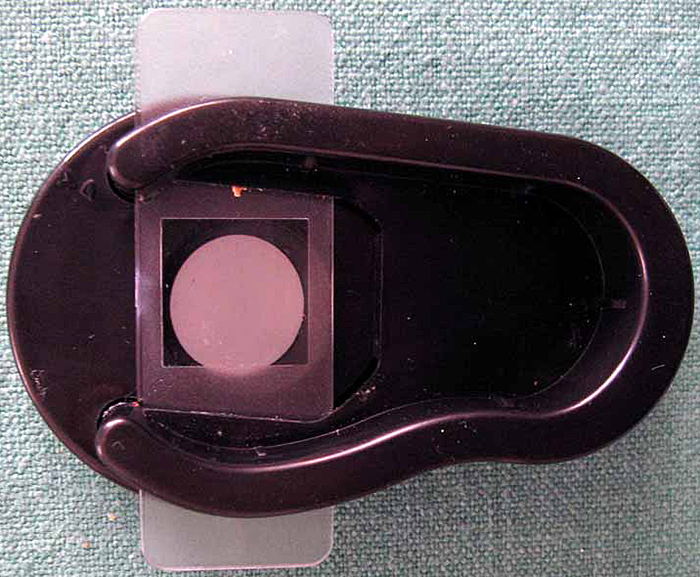
There are two controls on the microscope body, one changes the magnification from ×20 to ×40 and the other focuses the microscope onto a sample. There is a built-in light source, a small battery-powered LED angled down to illuminate the sample. The microscope has a detachable base which is designed to hold one of the small plastic slides provided with the kit.
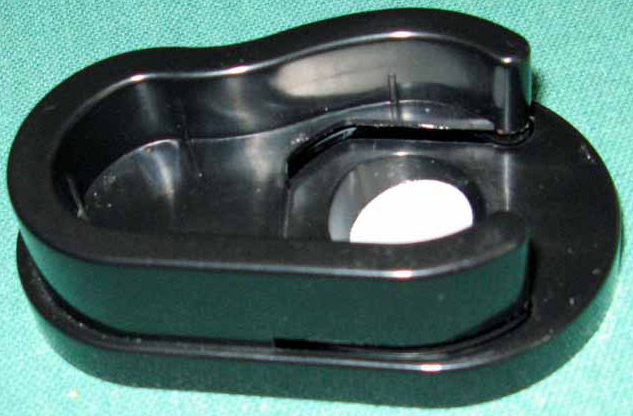
Base of microscope
The plastic slides are thinner and smaller than glass microscope slides, so a conventional slide does not fit well into the base.
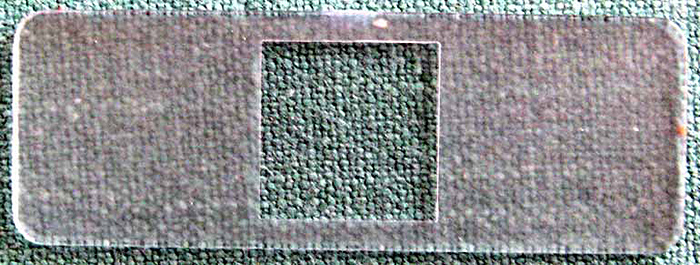
Plastic slide
At the bottom of the base there is a white disc which will reflect the illuminating light back through a transparent sample. The best part of the system, however, is that the microscope can be detached from the base and used to view almost any surface directly.
What you can do with it? The answer is – a lot
Using the microscope outdoors
With the base removed it can be put onto the surface of tree trunks, walls, rocks and stones to show the fine structure of lichens. With a key such as one of the folders published by the Field Study Council it is possible to identify the lichens. The fruiting bodies often visible and can look like jam tarts, and the microscope is easier to use than a hand lens because of the built-in illumination.
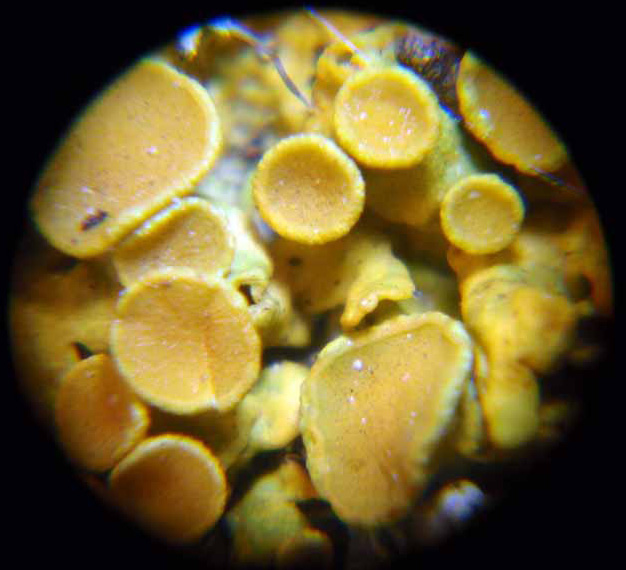
Lichen fruiting bodies
It can be used to study the structure of the leaf surfaces, both those on living trees and from shed leaves which may show evidence of attack by insects or viruses.
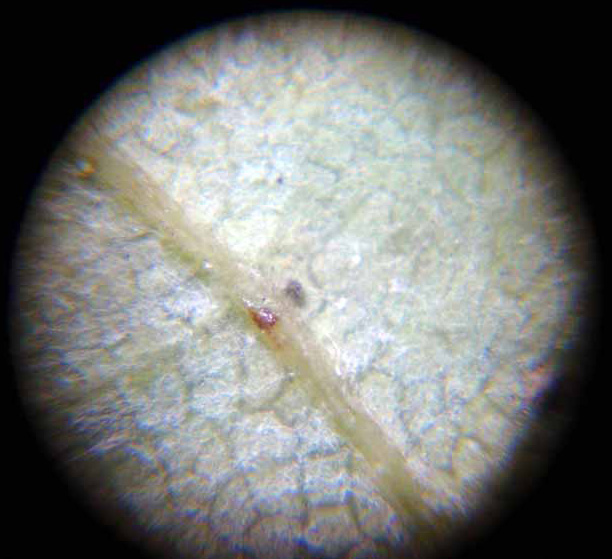
Underside of a leaf
Sometimes it is possible to see the insects, such as aphids, feeding on the leaves.
Aquatic samples can be examined using the plastic slides supplied. A method which works well is to remove the microscope from its base and put one of the supplied slides in the base by sliding it into the slot, making sure the central clear portion is in the middle over the white disc.
Plastic slide in the microscope base
Put the base onto a flat surface, then use a pipette (a turkey baster works quite well) to put a drop of water onto the centre of the slide. Not too much as you don’t want it to spill over the edges. Then carefully put the microscope back onto the base making sure you don’t dislodge the slide.
Using the microscope indoors
The microscope can be used to examine some of the things you may have collected from outside. For example, you may have picked up a dead butterfly, moth or fly and these will provide really interesting samples. The wings of butterflies and moths have beautiful patterns formed by overlapping scales, and these are readily visible with the microscope.
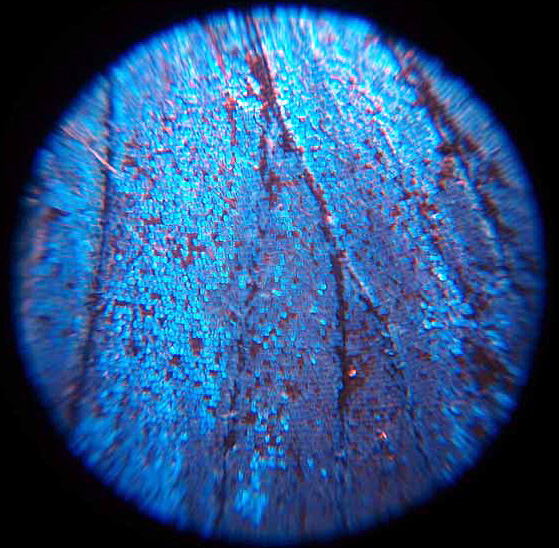
Scales on a butterfly wing
Use it without the base, putting the microscope onto the wings. The wings of the male banded damselfly are particularly impressive as the veins glisten intensely blue against a dark background. Dead flies also provide lots of interest, particularly the eyes.
The microscope can also be used to examine things you might have collected on holiday. Some people collect a little sand from every beach they visit, and these can provide fascinating samples. Some sands contain lots of coloured particles, the remnants of local rocks which have been abraded by the sea.
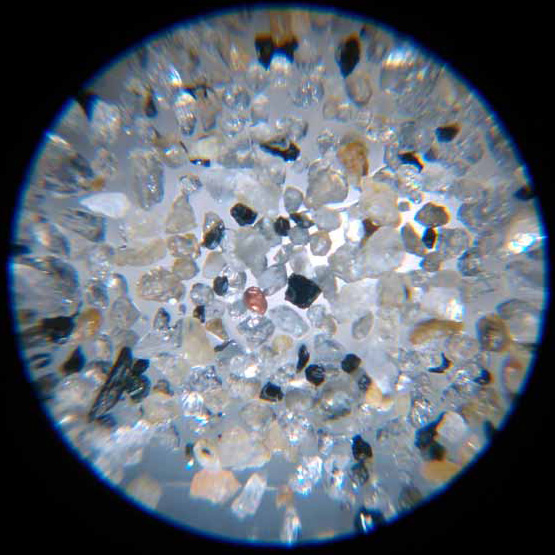
Ordinary sand
Other sands contain the remnants of small animals – these are fossiliferous sands.
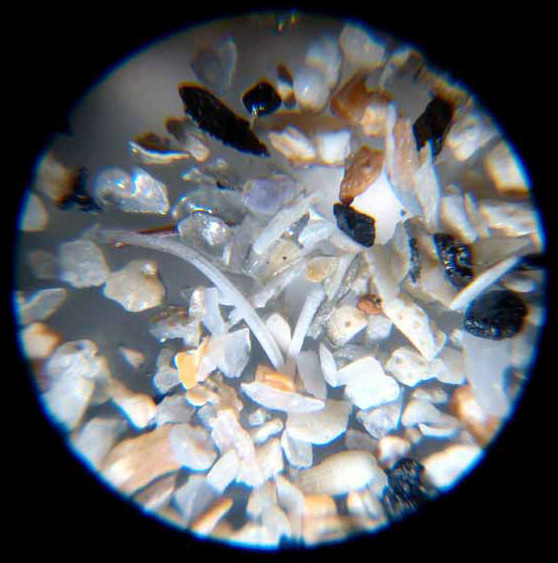
Fossiliferous sand
A good way to examine them is to make a plastic slide from part of the hard plastic packaging used on many items we buy. Cut it to the same size as the small microscope slides provided with the microscope, smear a little clear nail varnish onto the surface then scatter the sand onto it. A layer of sand particles will stick to the plastic and this makes it easier to focus on them and move the sample around the see the different types.
The microscope is also good for investigating how things are made. For example, using the microscope without a base and putting it onto a printed picture, possibly a magazine or newspaper picture, usually shows the pattern of overlapping coloured dots which form the picture.
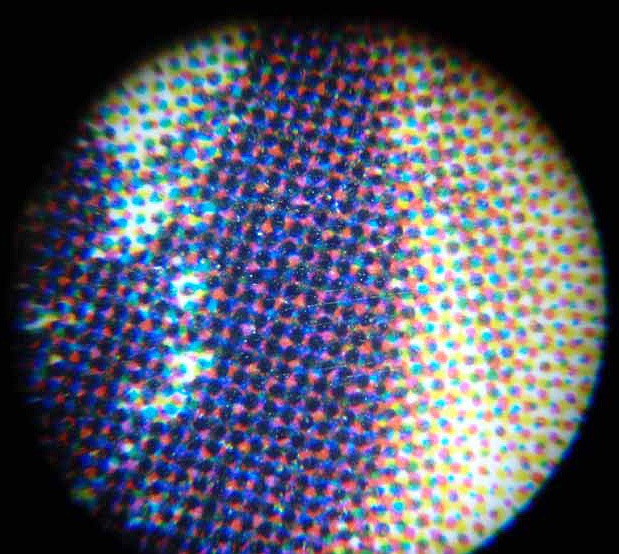
Dots in a printed picture
Other things to look at include currency notes (look for the security checks), coins (some £1 coins in circulation are forged – check your change). There are lots of things in the kitchen which are interesting samples. For example sugar shows very distinct crystal shapes.
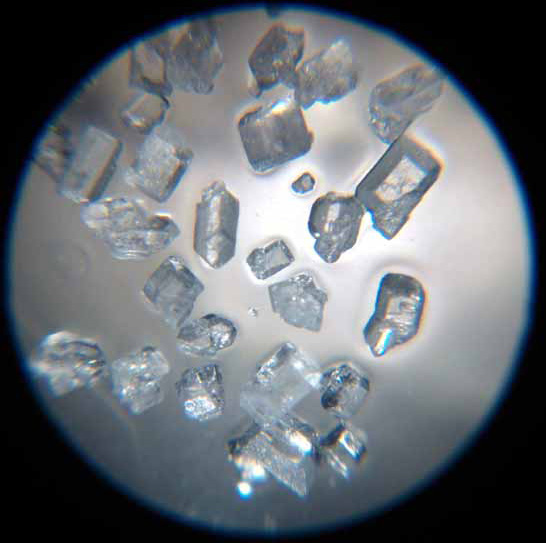
Sugar crystals
Many dried herbs and seed are also interesting.
Saving what you see
All the images of samples shown here were taken using a simple digital camera looking into the microscope. A good way to do this is to hold the camera over the microscope, about 20 cm away and shift it around until you see the light circle from the microscope in the middle of the camera screen. Then move it down towards the microscope keeping the light ring in the centre. When it gets close to the microscope lens, the sample begins to be visible on the screen. If possible, support your arms on a table (or use a tripod), then centre the image and take the photo. The microscope should always be well focused on the sample before you start. The AUTO routine seems to work perfectly well, producing a bright image.
Some Internet sites to help identifying things seen with the microscope
- www.field-studies-council.org – Produce folders to help in identifying lichen.
- www.nhm.ac.uk/jdsml/nature-online/lichen-id-guide/ – An on-line guide to identifying lichen on twigs.
- www.microscopy-uk.org.uk/ponddip/ – A virtual guide to pond life.